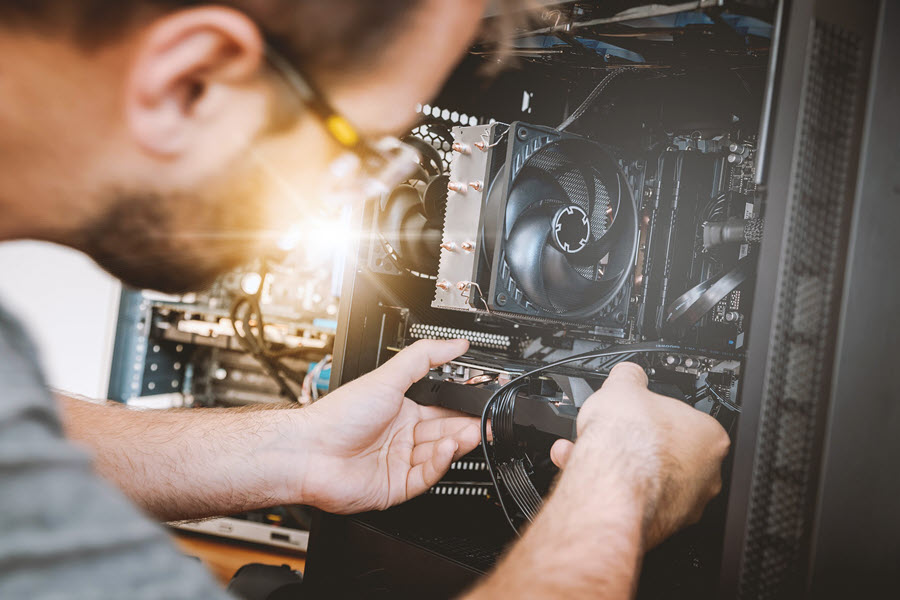
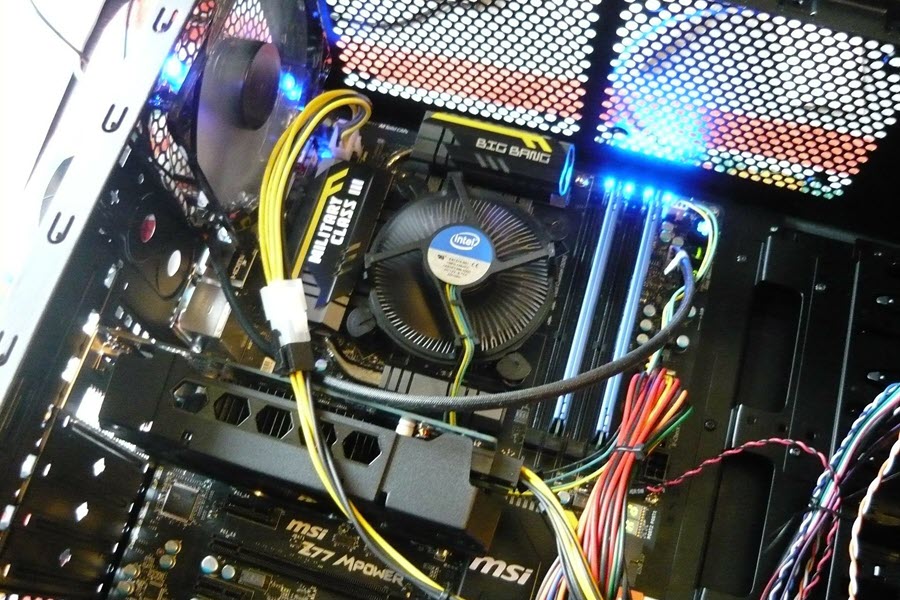
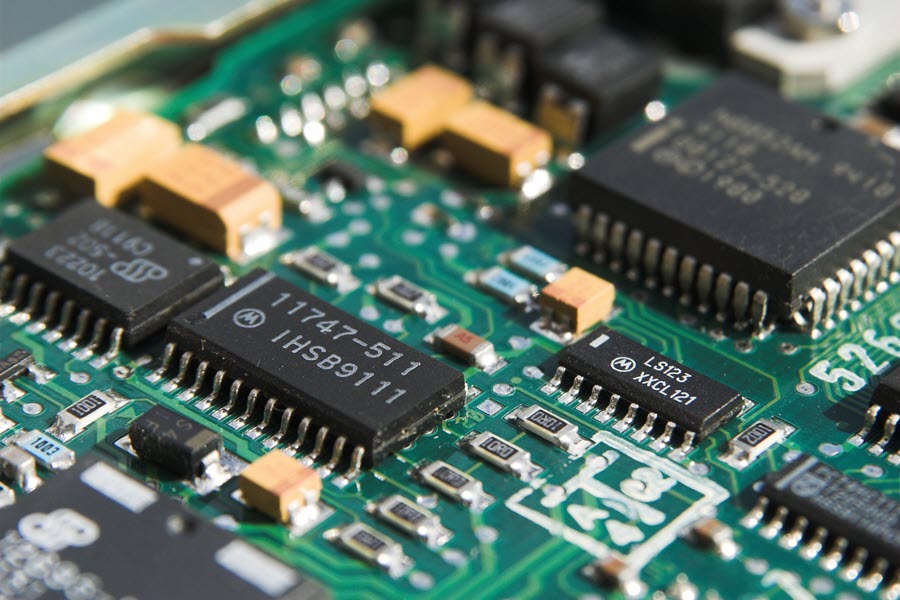
Computer hardware is the physical devices that make up a usable computer system. There are numerous types of hardware that you can install internally and externally on the computer.
Computer hardware problems are most common to face nowadays. That’s why some users build a computer system by doing computer hardware installation on their own. It helps in getting the features they want. Here, you’ll learn basic things about this installation.

Computer Hardware Categories
Hardware components in a computer are classified into four different categories. It includes input devices, output devices, processing devices, and storage devices. Components that input raw data are called input devices. For example, a keyboard and Bluetooth peripheral.
Output devices are the components that distribute and display data and information. For example, a printer. Storage and memory devices are used for data storage like RAM or ROM. Processing devices convert data into information. For example, microprocessors.
List of Various Computer Hardware
Since you now understand the main hardware categories, let’s take a look at the hardware devices you will find on a computer. Hardware components available inside the computer include CPU, Motherboard, RAM, HDD, Video Card, Optical Disk Drive, and Card Reader.
Monitor, Printer, Speakers, UPS, Keyboard, External Hard Drive, Mouse, Flash Drive, and Pen Tablet, are placed outside the computer. In the modern world, some newer technologies are included, like Scanner, Projector, Sound Card, or Microphone.
Also Read: How to fix “iTunes could not connect to this iPhone an unknown error occurred 0xE80000A”
Network and Auxiliary Hardware

Some components that contribute to running the internet on the computer are called network hardware. For example, Repeaters, Digital Modem, Print Server, Bridges, Network Switch, and Firewall.
The overheating issue happens due to Heat Sink and Fan problems. These devices are called auxiliary hardware. These are not integrated into the hardware but are detachable. Some other examples include Daughterboard, Power and Data Cable, and CMOS Battery.
Power Supply Installation
Once you get all the essential components, first, go for power supply installation. A few computer cases feature PSU (power supply unit). If you don’t get this with your computer case, install PSU in the blank void of the case’s back.
A few cases are placed on the bottom, while others are mounted on the top. To plug and secure the power supply, use the 4 screws you got with the case. Wear an anti-static wrist strap to protect components from static discharge.
Also read: Levo PA71 Power Bank Review & Reasons to Buy the Levo PA71
CPU Installation
When you separately buy the CPU and Motherboard, you have to install the CPU on your Motherboard. Bring the lever close to the CPU socket and open the retainer cap. Take out the plastic lid inside the retainer. If you wonder why your system is not working appropriately or overheating, check if the CPU is installed properly and the fans are spinning.
Carefully and accurately put the CPU in the socket. Find essential marks that show proper orientation because every socket is unique. Next, lower the lever and lock it. Press the factory CPU fan into the motherboard’s mounting holes to install it.
RAM Installation
Another important aspect of computer hardware installation is installing RAM. Random Access Memory can be placed in the sockets close to the CPU. Installing RAM in the matching sockets makes the Motherboard function effectively.
So, consult Motherboard documentation for relevant information. Install RAM in the matching sticks if you have just 2 RAM sticks. Completely push the RAM into the socket. It helps in moving up the locking levers on either side.
Also read: How to make a Slow Moving Laptop faster
Video Card Installation
The display performance is highly impacted by the video card. Improper installation can lead to video card failure. Hence, it is important to properly install your video card. On the back of your computer case, you’ll find some removable slots for additional devices.
To install the video card, remove the required slots. Put the card into the slot and then push it into the motherboard’s socket. Raise the locking lever to accurately lock the graphics card. If your video card needs extra power, plug it into the power supply.
Motherboard Installation

Screwing the motherboard directly into the case can cause a short out to the motherboard. So, make sure you securely mount the motherboard in the case. Place the offsets in the case. Keep the I/O shield on the back.
Put the motherboard into an array with offsets and an I/O shield. Secure the motherboard down using the screws from your case. Carefully route cables around the motherboard. Attach the power supply to your Motherboard.
Conclusion
After installing all the important hardware, it’s important to double-check if all the components are connected properly. Be sure that they are linked to the Motherboard (if required) and power supply.
Secure the cables accurately behind the components. Use zip ties to pack the cables. Close the computer case after checking every basic component and cable. Link the peripherals to your computer system and connect the supper supply to turn on your system.

Techspurblog is a blog dedicated to providing industry-leading insights, tips, tricks and tools on topics such as web design, app development, Digital Marketing, Education, Business and more. We also provide reviews of the latest tech products and services that can help you get the most out of your business.


