In today’s digital age, having a website is essential for individuals and businesses alike. However, the process of creating a website can be daunting and expensive. Fortunately, with the advancements in artificial intelligence (AI) technology, anyone can now create their own website easily and for free. In this article, we will explore four free AI website builders that generate website copy, images, design, menu, and more within minutes. By following the step-by-step process of each Website builder platform, you can find the perfect fit for your needs and establish a strong online presence. Let’s dive in!
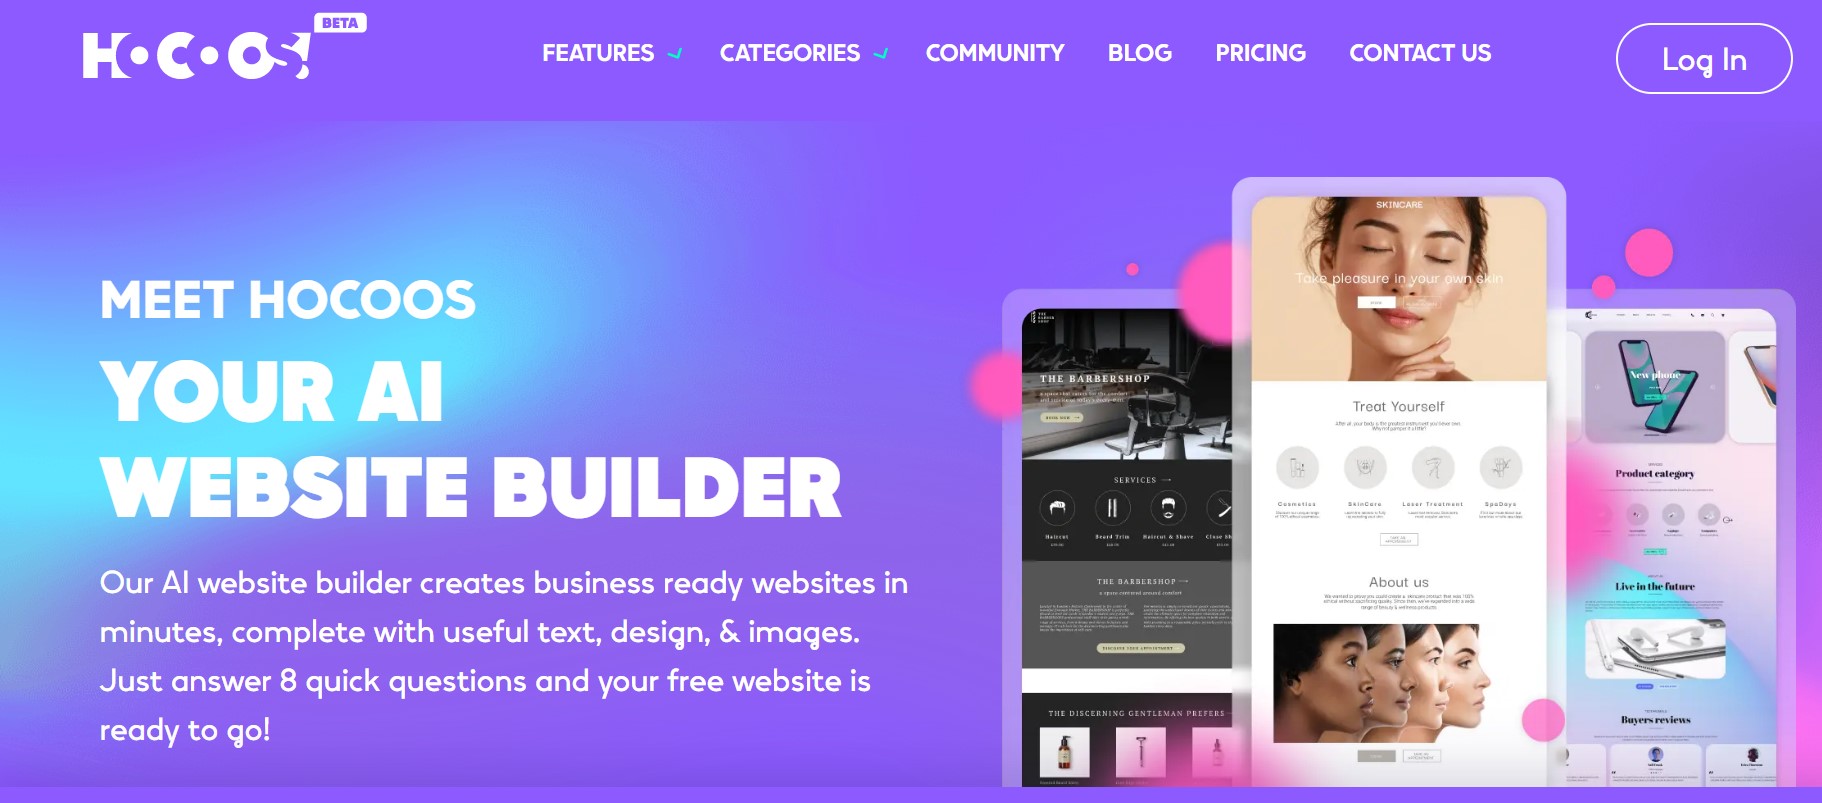
HOCOOS AI Website Builder
To begin using HOCOOS AI Website Builder, visit their website or find it through your preferred search engine. Once there, you’ll be prompted to enter your email address to initiate the website creation process. Providing your email address allows HOCOOS AI tool to keep you updated on your website’s progress and other important information.
Choosing Website Category and Services
After entering your email address, you’ll be directed to choose a website category. HOCOOS AI Website Builder offers a range of categories to choose from, catering to different industries and purposes. Alternatively, if you have a specific theme in mind, you can enter it in the prompt bar. This step helps the AI tool understand the context and requirements of your website.
Also Read: How to Connect A Custom Domain to Google Sites in a Simple Steps
Selecting Services and Website Purpose
Once you’ve chosen your website category or theme, click “Continue” to move to the next step. Here, you will have the opportunity to select the specific services you want to offer on your website. This selection helps the AI tool tailor the generated content and design to align with your chosen services. Afterward, you’ll be asked to specify the purpose of your website, whether it’s for a physical business or an online-only venture.
Business Details and Customization
Now it’s time to provide your business details to HOCOOS AI Website Builder. Start by entering your business name, which will be displayed on your website. Next, select three aspects of your business that you’d like to highlight. These could be your main products, services, or unique selling points. Following that, specify how visitors can contact you, such as through a contact form, email, or phone number.
Styling Your Website
In this step, you have the opportunity to customize the style of your website. HOCOOS AI Website Builder offers options to personalize your website’s color palette, font pairs, and overall design. Experiment with different combinations until you find the best fit for your brand and aesthetic preferences.
Generating Your AI Website
Once you’ve completed the previous steps and are satisfied with your selections and customizations, click “Create My Website” to initiate the generation process. HOCOOS AI tool will start working its magic, automatically generating your website copy, images, design, and menu structure. Depending on the complexity of your website and the server load, the generation process typically takes one to two minutes.
Customization and Website Editor
After the AI tool has generated your website, you’ll be presented with a website editor. This editor allows you to further customize your website according to your preferences. You can modify the logo, edit website items, adjust the menu structure, or make any other desired modifications to ensure your website accurately represents your brand and showcases your offerings.
Viewing Your Live Website
Once you’ve completed the customization process, click “View Website” to see your live website in action. This feature allows you to preview your website and ensure that everything appears as intended. Take this opportunity to browse through your website’s pages, click on links, and assess the overall user experience.
Using Your Own Domain Name (Optional)
While HOCOOS AI Website Builder provides you with a free sub-domain name, you also have the option to use your own domain name. If you prefer to have a personalized web address, HOCOOS AI tool provides instructions on how to connect your domain name to your website. This way, you can establish a more professional online presence and reinforce your brand identity.
Also Read: Why Premium Domains are special and why your Brand Needs one
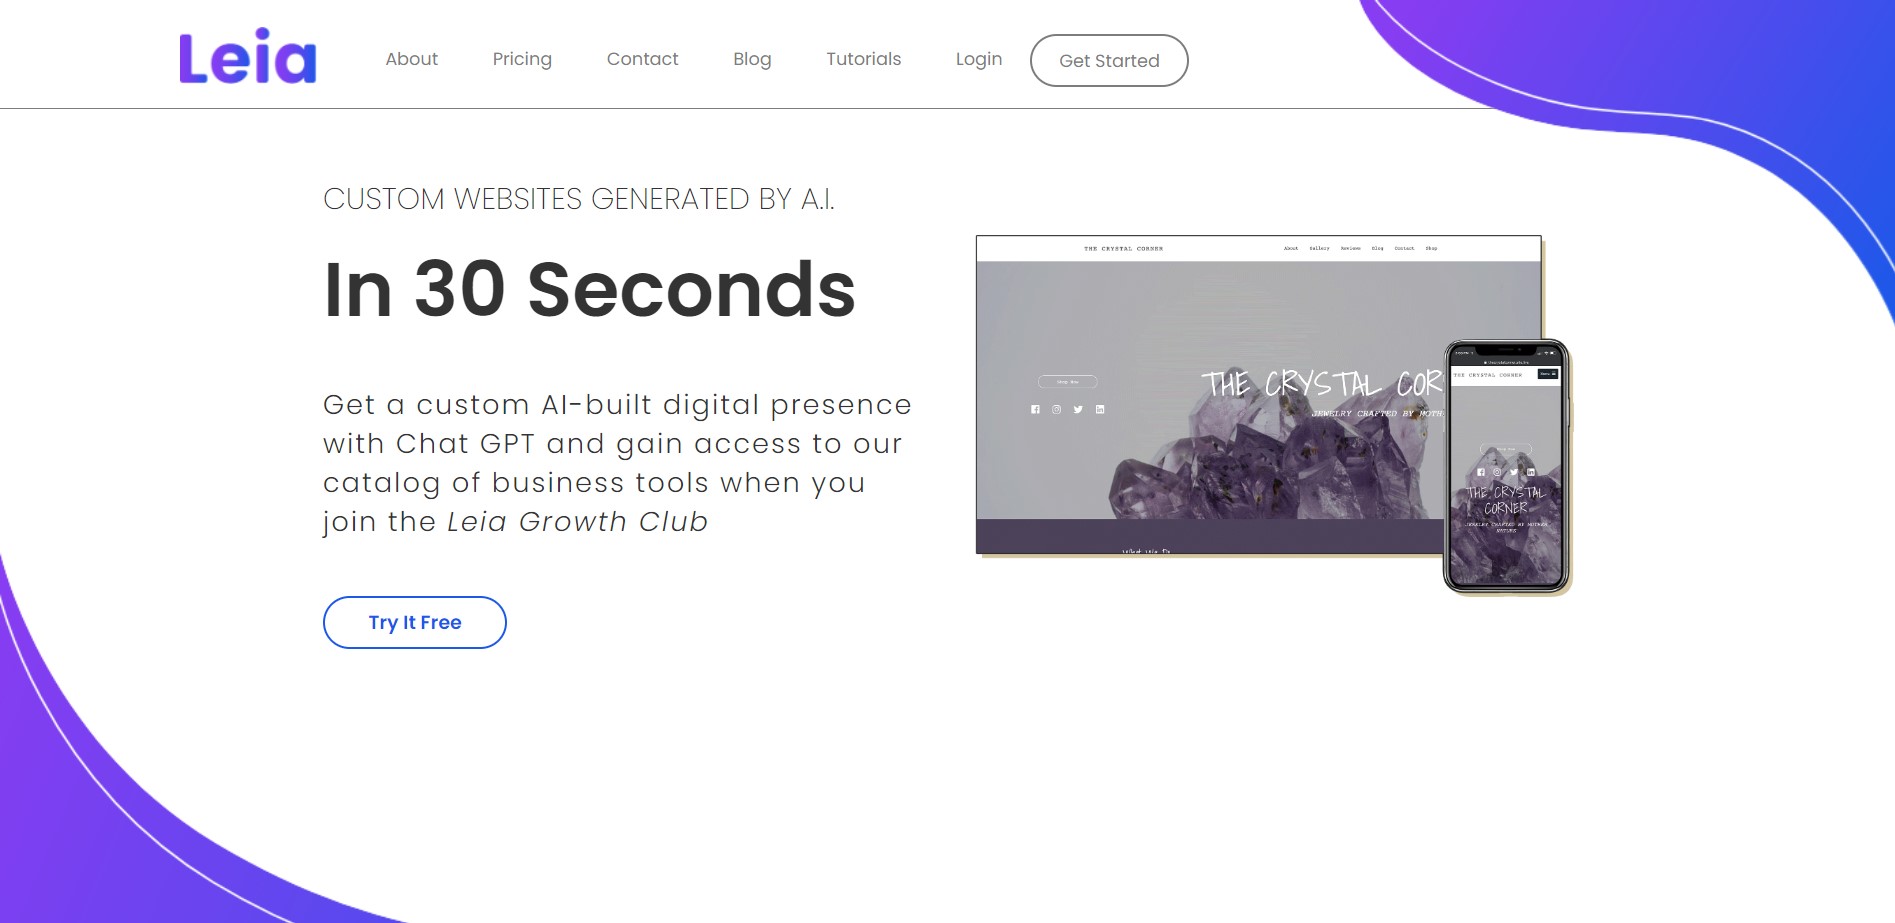
LEIA AI Website Builder
To begin using LEIA AI Website Builder, Visit their website and click on the link provided or find it through your preferred search engine. Once you’ve reached the website, you’ll be greeted with a clean and intuitive interface that simplifies the website creation process.
Choosing Business or Category
After landing on the LEIA AI Website Builder page, start by entering your business or category in the provided field. This step helps LEIA AI understand the context and requirements of your website.
Selecting AI Questions or Simplified Process
Next, you have the option to choose between two approaches. If you prefer a more detailed creation process, you can select the AI Questions option. This will prompt the AI tool to ask you a series of questions to gather specific information about your business, enabling it to create a tailored website. Alternatively, you can opt for the simplified process by clicking “Just Build My Website.” This approach is suitable if you want a quicker and more streamlined experience.
Email Confirmation
To ensure you’re not a bot, LEIA AI Website Builder requires email confirmation. Simply enter your email address, and you’ll receive a confirmation message. Click on the provided link to proceed with the website creation process.
Website Generation
After confirming your email address, the AI tool will begin generating your website. This process involves utilizing the information you’ve provided, combined with the power of AI, to create a fully functional website. The generation process usually takes a few moments, depending on the complexity of your website.
Website Customization
Once the AI has generated your website, you’ll be directed to the website editor. Here, you have the freedom to customize various aspects of your website to align with your brand and personal preferences. The editor allows you to modify menus, edit text, adjust images, and make any necessary changes to ensure your website accurately represents your business or personal venture.
Previewing Your Website
After customizing your website, take advantage of the preview feature to see how your website will appear to visitors. This allows you to evaluate the overall design, layout, and functionality of your website. Make any final adjustments before moving on to the next step.
Viewing Your Live Website
Once you are satisfied with the customization and previewing process, it’s time to view your website live. By clicking on the “View it” button, you can explore your website as if you were a visitor. Take this opportunity to navigate through different pages, test links, and ensure a seamless user experience.
Also Read: What are the benefits of User Experience design?
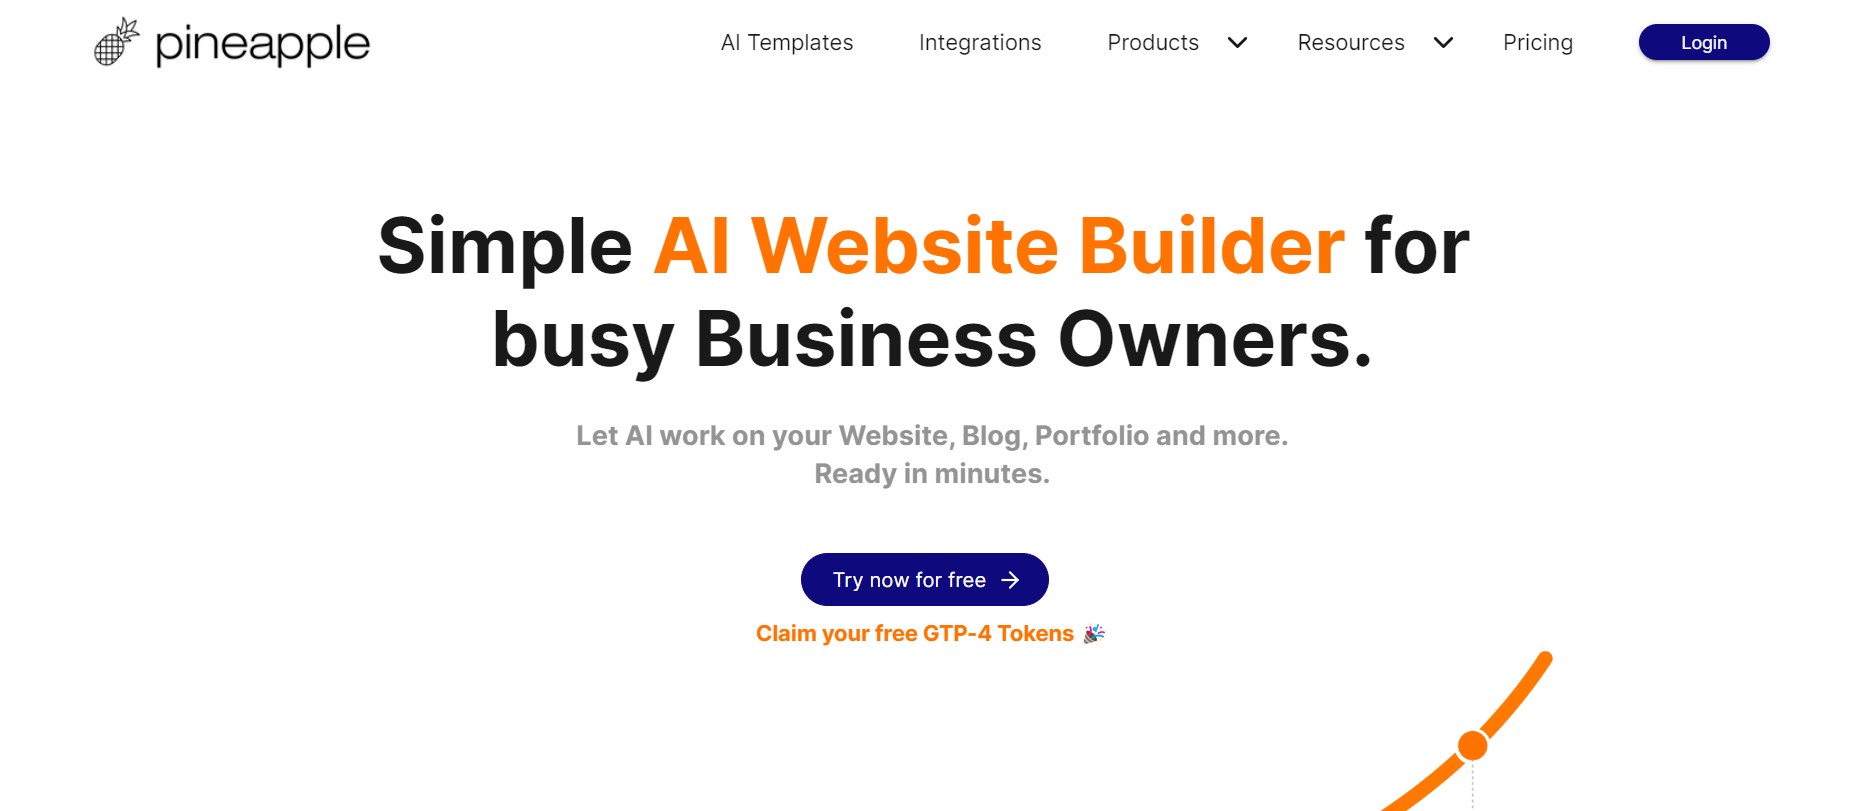
Pineapple AI Website Builder
To begin using Pineapple AI Website Builder, Visit their website and click on the “Try Now for Free” button. This will initiate the process of building your website using the power of AI.
Choosing a Website Category or Theme
Once you’ve accessed the Pineapple AI Website Builder, you’ll be prompted to choose a website category that best represents your business or venture. Alternatively, if none of the available categories suit your needs, you can type your desired creation in the prompt bar. This step helps Pineapple AI understand the context and purpose of your website.
Selecting Your Main Goal
After selecting the website category or theme, you’ll be asked to choose your main goal for the website. Pineapple AI provides a menu of options to select from or allows you to describe your own goal. This information helps the AI tool tailor the website creation process to align with your specific objectives.
Choosing Your Project Stage
In this step, you’ll indicate the stage of your project, whether it’s a new venture, an established business, or a personal project. Select the option that best reflects your current situation to ensure the generated content and features cater to your needs.
Selecting a Website Template and Customization
Pineapple AI Website Builder offers a variety of website templates to choose from. Select the template that resonates with your brand and desired aesthetics. Afterward, click “AI Customize” to proceed with customizing your website.
Customizing Color Palette, Text Style, and Button Style
Pineapple AI Website Builder allows you to personalize your website’s appearance by customizing the color palette, text style, and button style. Experiment with different combinations to create a cohesive and visually appealing design that represents your brand identity.
Providing Business Details and Target Audience
Next, enter your business details, such as your company name and any pertinent information. Additionally, specify your target audience to ensure the generated content and design cater to their preferences and needs.
Initiating Content Generation
After completing the customization and inputting your business details, click “Start Generation” to instruct Pineapple AI to create your website’s content. The AI tool utilizes the information provided to generate text and imagery that align with your goals and target audience.
Creating an Account and Editing Your Website
Once the content generation process is complete, Pineapple AI Website Builder prompts you to create an account using your Google, Facebook, or GitHub credentials. Creating an account allows you to access an online editor, where you can add, remove, or edit various sections and components of your website. You also have the option to upload your own images or utilize the free image stock provided by Pineapple AI.
Publishing Your Website
After editing and fine-tuning your website, click the “Publish” button to make it live on the internet. Pineapple AI Website Builder will guide you through the process of entering your name, email, and password to create an account and finalize the publishing procedure. You’ll also have the opportunity to choose a desired domain name to make your website easily accessible.
Also Read: 7 Fashion Website Design Tips for Fashion E-commerce Sales
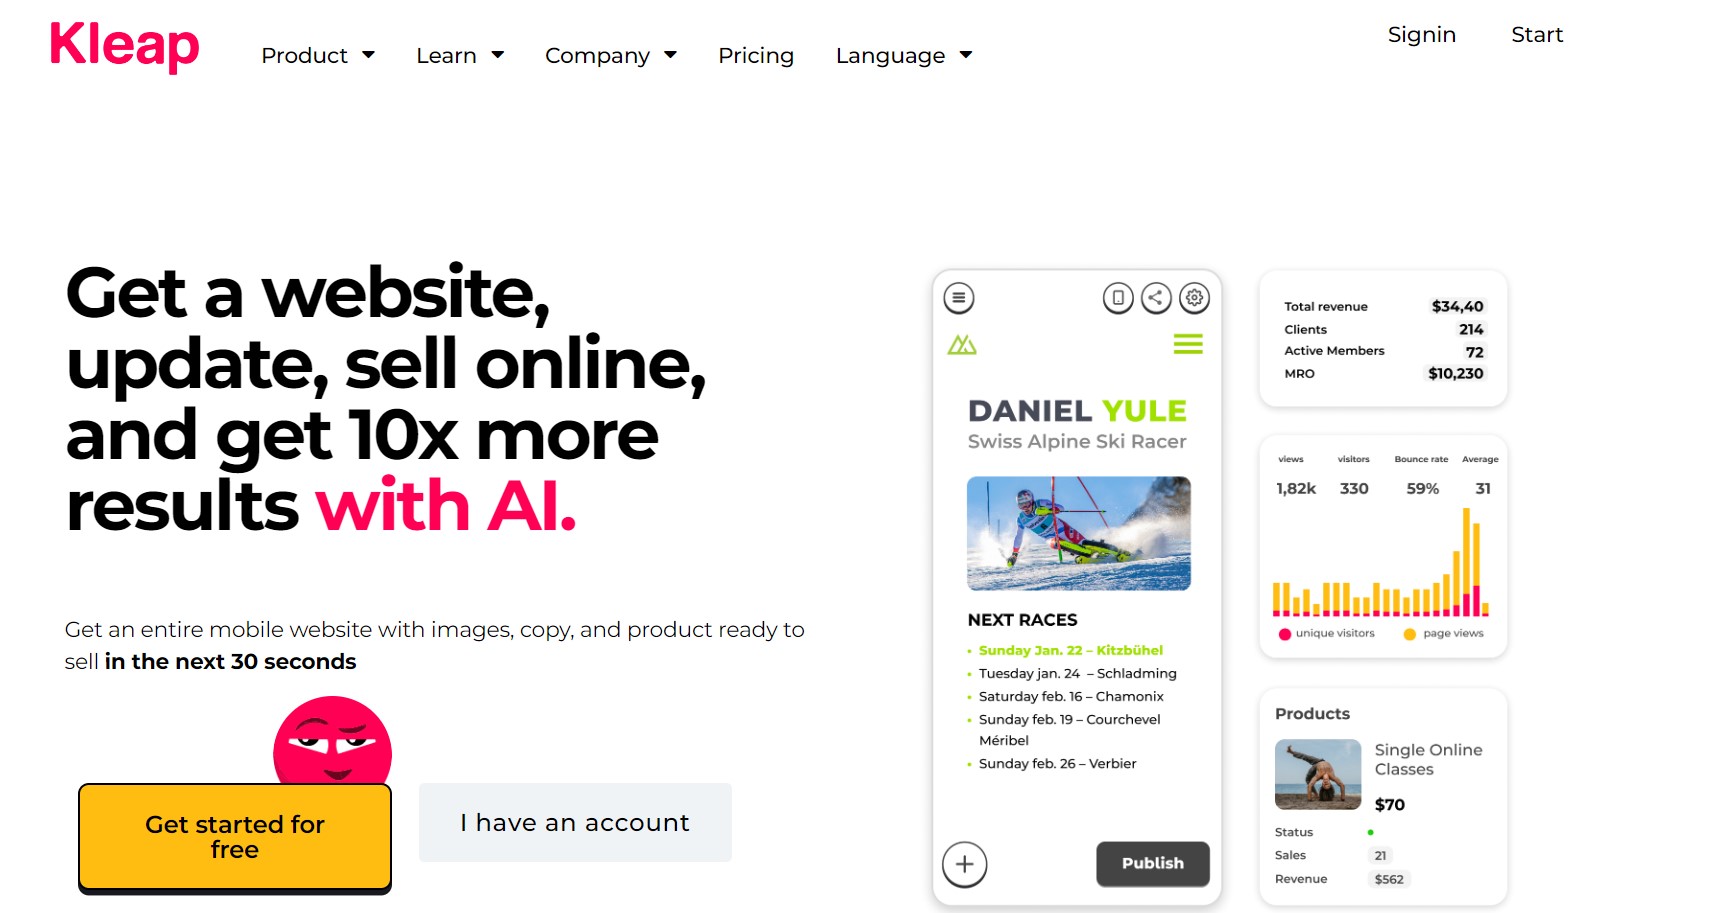
KLEAP AI Website Builder
To begin using KLEAP AI Website Builder, click the “Claim Your Website” button on the website. This will initiate the website creation process using the power of AI.
Providing Business Information
Upon clicking the button, you’ll be prompted to enter your business name. You can also provide additional information such as your business address, phone number, and company logo. These details will help KLEAP AI customize the generated content to suit your specific business requirements.
Adding Images and Social Media Links
To enhance the visual appeal of your website and connect with your audience, KLEAP AI allows you to add your own images and social media links. This integration ensures a seamless online presence and promotes engagement with your target audience.
Completing Necessary Details
After entering all the necessary information, click “Next” to proceed. KLEAP AI will then use the provided data to generate the content and design elements for your website.
Editing Your Website
Once the content generation process is complete, you’ll have the opportunity to directly edit your website. KLEAP AI Website Builder provides an intuitive interface that allows you to modify the website’s menu, text, images, sections, and other important parameters. This ensures that your website accurately represents your brand identity and meets your specific requirements.
Publishing Your Website
After you have completed the editing process and are satisfied with the changes, it’s time to publish your website. Enter your name, email, and password to create an account and finalize the publishing procedure. KLEAP AI Website Builder will guide you through the steps to ensure a smooth and seamless publishing experience.
Custom Domain Name
KLEAP AI Website Builder also offers the option to use your own domain name. By following the instructions provided, you can easily connect your personalized domain name to your website. This further strengthens your brand identity and gives your website a professional touch.
Also Read: 10 Unbelievable AI Tools That Will Blow Your Mind
Conclusion
Creating your own website has never been easier thanks to AI-powered website builders. With platforms like HOCOOS AI Website Builder, LEIA AI Website Builder, Pineapple AI Website Builder, and KLEAP AI Website Builder, you can generate professional-looking websites quickly and at no cost.
By following the step-by-step processes outlined in this article, you can easily customize and personalize your website to suit your unique needs. So why wait? Take advantage of these free AI tools today and establish a strong online presence for yourself or your business. Happy website building!

Techspurblog is a blog dedicated to providing industry-leading insights, tips, tricks and tools on topics such as web design, app development, Digital Marketing, Education, Business and more. We also provide reviews of the latest tech products and services that can help you get the most out of your business.
